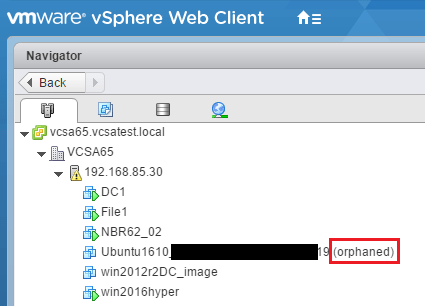
Recently we had an issue that an entire server was shown invalid, and all its virtual machines marked as orphaned. And upon removing the virtual machines from inventory and trying to register them again, we got the following error message:
A virtual machine or template having the same name is already registered
vmware vsphere error message
The issue here was obvious: some processes are still running that use files from the VM on one ESXi host. And the solution? Well, get the process ID, kill it, and reload VM configuration files.
How to solve A virtual machine or template having the same name is already registered error
Connect to the Host
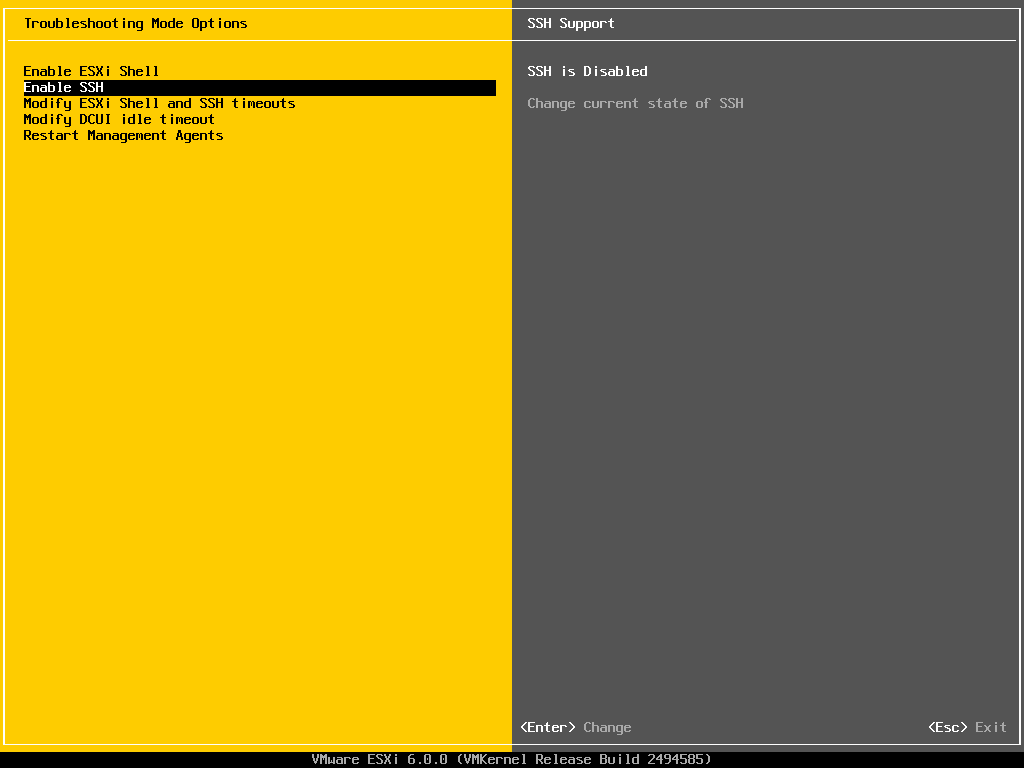
The first thing to do is connect to the Host by SSH. You will first have to enable SSH access on the host itself, so just follow this guide on how to do that.

Find the Process
You can find the host which locked the file by using the vmkfstools command.
The owner of the file is the Host that locked the files, here is an example:
~ # vmkfstools -D /509bbbf5-1e637b68-bea0-0043ce612782/debdev/debdev.vmx
Lock [type 10c00001 offset 143902720 v 29458, hb offset 3227648
gen 379, mode 1, owner 58e1fa80-df4c8bc2-bb87-005056d4f557 mtime 13631
num 0 gblnum 0 gblgen 0 gblbrk 0]
Addr <4, 265, 177>, gen 29281, links 1, type reg, flags 0, uid 0, gid 0, mode 100755
len 3040, nb 1 tbz 0, cow 0, newSinceEpoch 1, zla 2, bs 8192
In the example above, 005056d4f557 is the MAC Address of the Management interfaces of the ESXi host which holds the lock.
TIP: If the MAC address is equal to 000000000000 then the file isn’t locked.
After making sure that the file really is locked and used by another process, wthe next thing to do is to determine the world ID of that process. Yo can use the following command:
~ # ps|grep yourVM|grep vmx
45168 45020 vmx-vcpu-0:yourVM - debdev SMT /bin/vmx
world ID is a unique process ID across all your ESXi Hosts.
Kill the Process
After we got the worldID of the process that locked our vm files, the next thing to do is to kill that process.
~ # kill -9 45020After running the kill function lets check if all process are terminated
~ # ps|grep yourVMReload VM Configuration
After successfully killing the process, we have to reload the VMs configs. First lets check for invalid VM configs across all our ESXi Hosts, by using the following command:
~ # vim-cmd vmsvc/getallvms|grep ski
Skipping invalid VM '1527'
Now lets check if ID ‘1527’ is indeed our VM.
cat /etc/vmware/hostd/vmInventory.xml
~ # cat /etc/vmware/hostd/vmInventory.xml|grep -A 2 1527
    <objID>1527</objID>
    <vmxCfgPath>/vmfs/volumes/509bbbf5-1e637b68-bea0-0043ce612782/debdev/debdev.vmx</vmxCfgPath>
Now lets reload the VMs config file on that one ESXi host which has the invalid VM in its Inventory.
~ # vim-cmd vmsvc/reload 1527After running the reload command, all other ESXi hosts should be updated and the VM should appear back in the vSphere Inventory. You don’t have to add it manually to inventory by browsing the datastore.
TIP: When moving/reading a VM in vSphere you may be prompted if the VM is moved or copied. If you select “moved” then the virtual machine will keep its old MAC Address, and if you choose “copied” it will be assigned with a new virtual MAC address.

![node[175421]: pthread_create: Resource temporarily unavailable 2023 08 28 12 15 344x194 - node[175421]: pthread_create: Resource temporarily unavailable](https://pcx3.com/wp-content/uploads/2023/08/2023-08-28_12-15-344x194.png)

