I’ve been thinking about switching from Windows 10 to Linux for a while, and I finally did it a few days ago. I had some difficulties switching from Windows because most of the features that Windows have We take for granted and Linux ubuntu 21.04 doesn’t have them by default. I’m used to the following Windows software and features and just need to figure out how to get them on Ubuntu:
- MobaXterm because it runs bith SFTP and SSH at the same time
- ShareX with the ability to take a screenshot and then both copy it to clipboard, and upload it to Imgur.
- Built-in Windows features: virtual desktops, different wallpapers on each monitor, clipboard manager and language switch shortcut.
So, the first thing that I did after setting up Ubuntu 21.04 is to configure it to match my habits, and here are a few tools and software that I’ve used to do just that.
Enable ‘Minimize on Click’ on Ubuntu
The first thing that was missing is the click to minimize feature of Windows, so that when you click on an icon in the taskbar, the windows minimize.

To set this Windows-like feature run the following command:
gsettings set org.gnome.shell.extensions.dash-to-dock click-action 'minimize'Or the even better option to minimize/maximize if only one window is open, but if there are multiple windows open then show preview:
gsettings set org.gnome.shell.extensions.dash-to-dock click-action 'minimize-or-previews'Set different wallpaper for each screen in Ubuntu 21.04
This is probably the problem that took me the most time to fix. I’ve used to work on two screens in Windows, and when I switched to Linux it was annoying that I can’t set different wallpapers to each monitor.
The obvious solution was the most recommended software for this purpose: HydraPaper
flatpak install flathub org.gabmus.hydrapaper
flatpak run org.gabmus.hydrapaper
But I’ve encountered multiple issues running it in ubuntu 21.04: GUI is not opening, the terminal tool is not working, GUI doesn’t show any wallpapers available, etc.

But in the end, after reading the fucking manual I finally managed to get it working.

CopyQ – Clipboard manager alternative to Sharex

CopyQ is an advanced clipboard manager with editing and scripting features that is similar to the Sharex Windows tool.
sudo add-apt-repository ppa:hluk/copyq
sudo apt install copyq
Then run it with “copyq” command or click the CopyQ icon

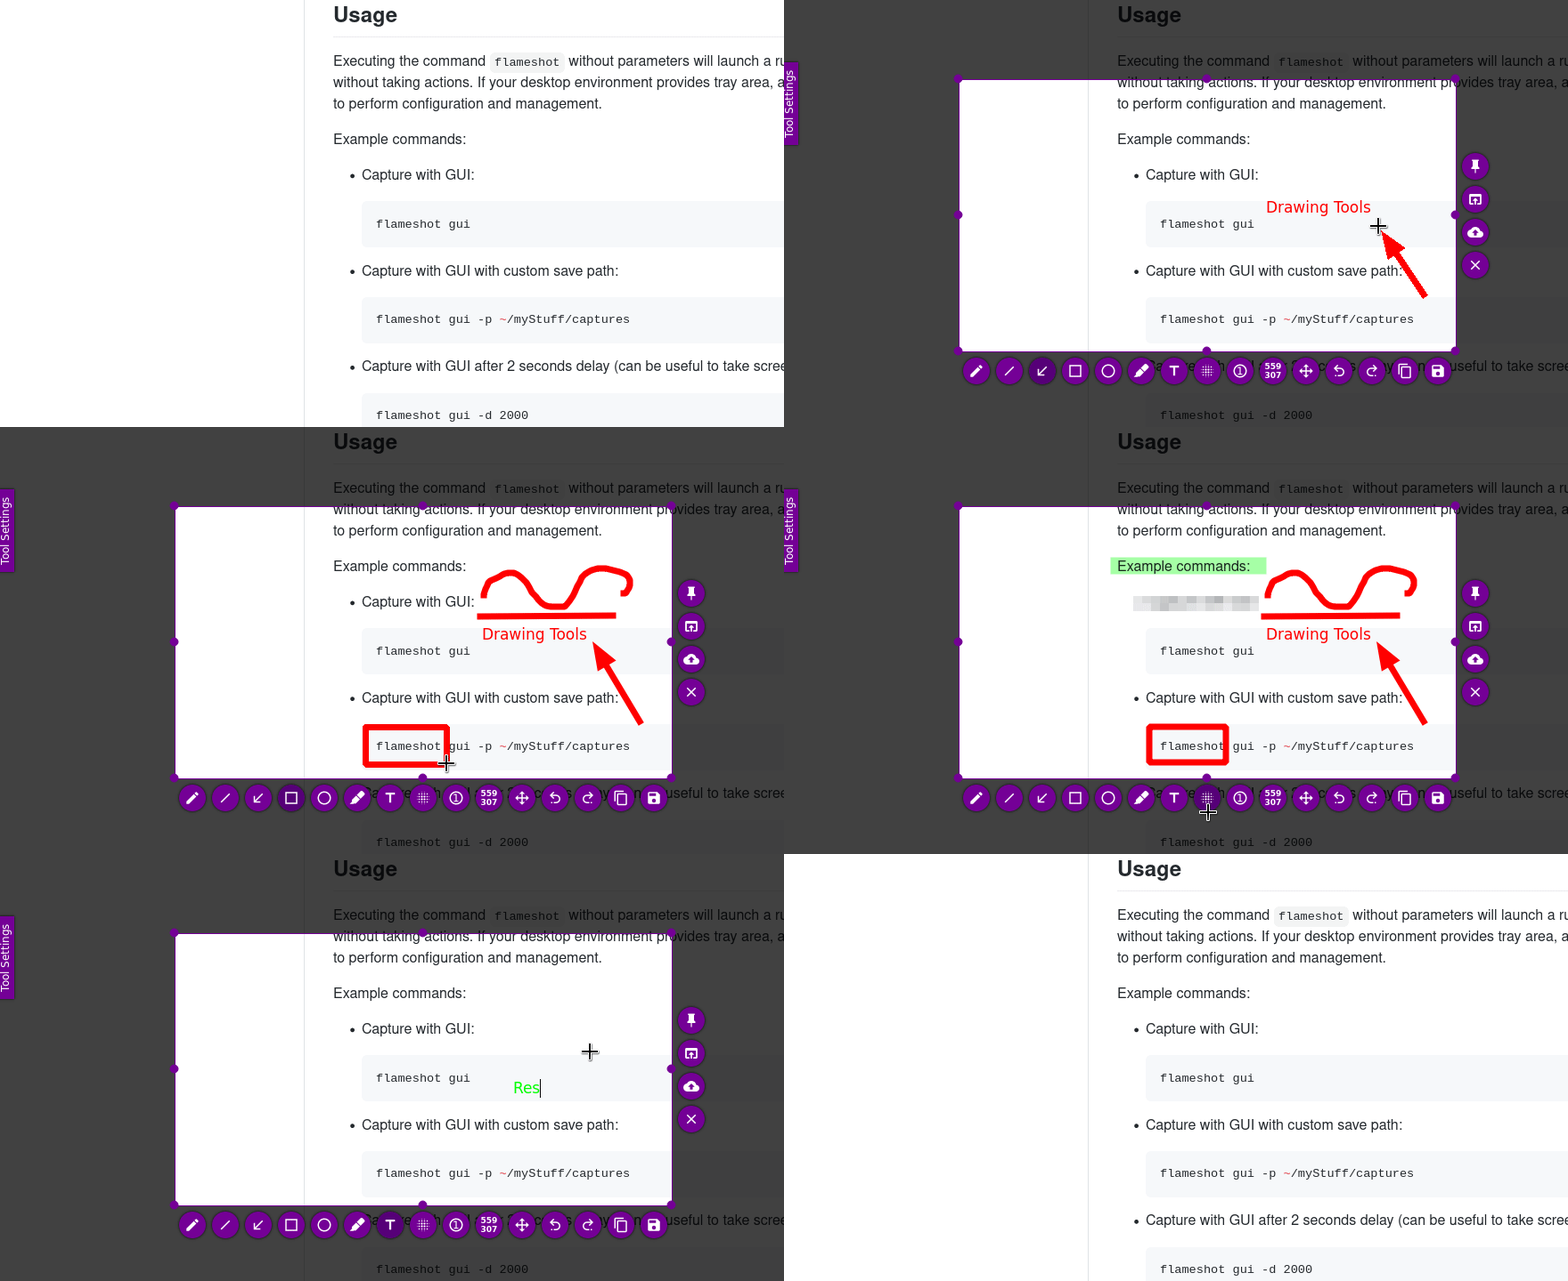
Flameshot – screenshot creation tool (ShareX alternative for Linux)

Flameshot offers basically the same features on Linux as Sharex does to Windows users, but the one feature that I think is missing is the built-in replacement of the PrtScr shortcut.
So that when you press the PrtSCR button it will open the Flameshot tool, so after installing the Flameshot Screenshot Tool in Ubuntu We are going to assign this shortcut to it.
First, install Flameshot:
sudo apt install flameshotThen from the terminal run the following command to release the PrtScr binding:
gsettings set org.gnome.settings-daemon.plugins.media-keys screenshot '[]'under Settings -> Devices -> Keyboard scroll to the end and Press + to create custom shortcut.
Enter name: “flameshot“, command: /usr/bin/flameshot gui and set shortcut to PrtScr (print).

That is it. Next time you push PrtScr flameshot will be launched.

Right click to paste in terminal
Typical Windows user 😀 -just use middle mouse click instead.
Save SSH session in Linux
I mentioned earlier that I like the MobXtrem program for Windows since it allows me to utilize both SFTP and SSH at the same time, but another excellent feature is that the free version allows you to save up to 20 sessions.
On Linux, it’s even easier to save SSH session logins:
Create a file ~/.ssh/config and in it set the following:
HOST <yourHost>
    HostName <IP or domain name>
    Port <port if not using the default 22>
    User <username>
    IdentityFile <path to an private keyfile (if using privatekey for authentification)>
Those are the basic tweaks I did when switching from Windows to Ubuntu. But again, I switched from Ubuntu to ZorinOS in approximately 12 hours, so I had to do everything all over again. 😀


