In this guide, I will be setting up CWP on a small VPS, then install WordPress.
This process consists of:
- Installing CWP
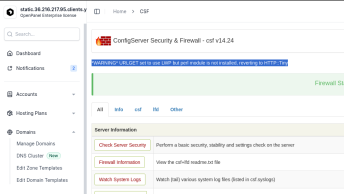
- Setting up CSF
- Change Default package limits
- Set a custom PHP version
- Create a new account
- Create MySQL database and user
- Install WordPress
Install & Configure CWP
cd /usr/local/src
wget http://dl1.centos-webpanel.com/files/cwp-latest.sh
sh cwp-latest.sh
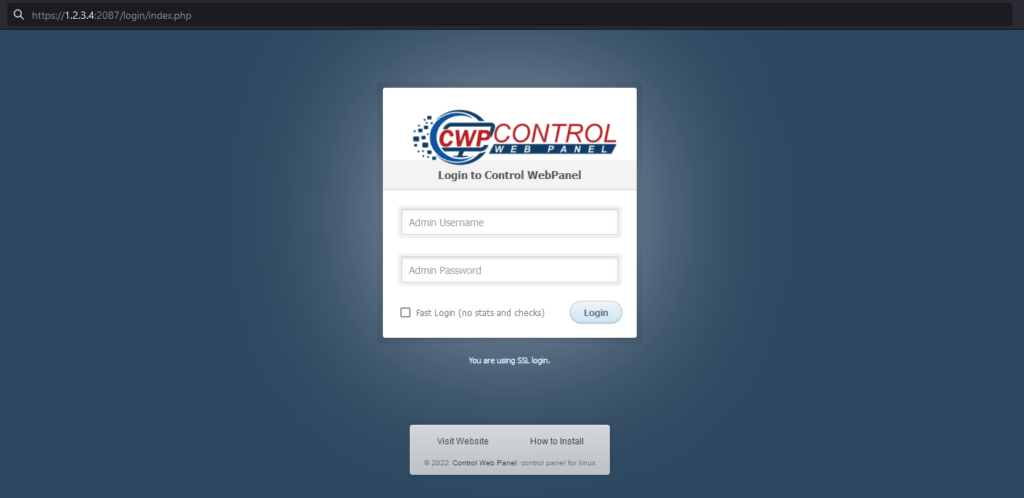
After the installation is complete, login to the admin panel with IP:2087
Install & Enable CSF
The following are just my recommendations for every new CWP setup:
- Install and enable CSF
- Whitelist your IP
- Block unused ports
- Change SSH port and allow it in CSF
Change default package limits
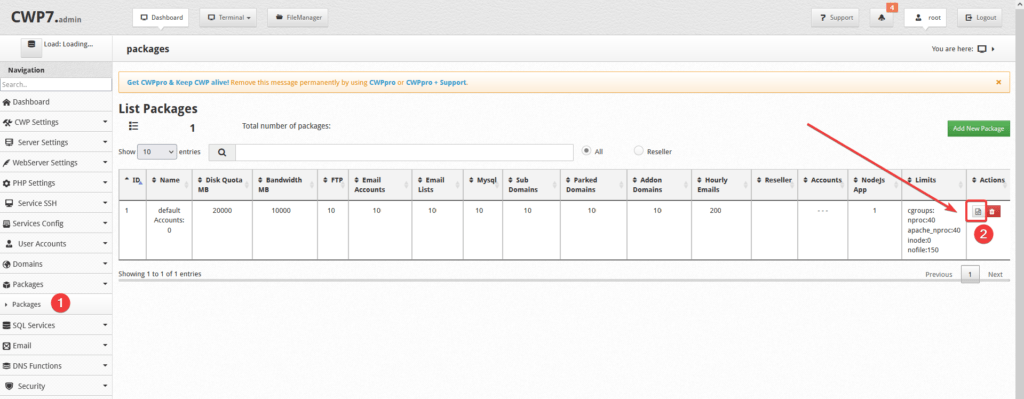
Set number of addon/subdomains, emails per hour and bandwidth for the default package, by going to Packages > Edit icon
Increase limits per your needs and click on Update.
Set custom PHP version
By default when installing CWP you will end up with PHP 5.6, but because WordPress requires PHP version 7.4 or greater We have to upgrade before installing WP. The free version of CWP doesn’t support PHP Selector, so we will have to install PHP version in global, so that created accounts can use it.
To change PHP version in CWP, navigate to PHP Settings > PHP Version Switcher and under PHP version set the version that you want.
Scroll down and click on “Save & Build“, to check the progress use command:
tail -f /var/log/php-rebuild.logOn the next screen, you will be able to select options for that PHP version. if you will be using Redis or Memcached, make sure to select them.
The build process will last about 15minutes, after which you will notice that the PHP version on the page “PHP Version Switcher” has changed.
Create a new Account
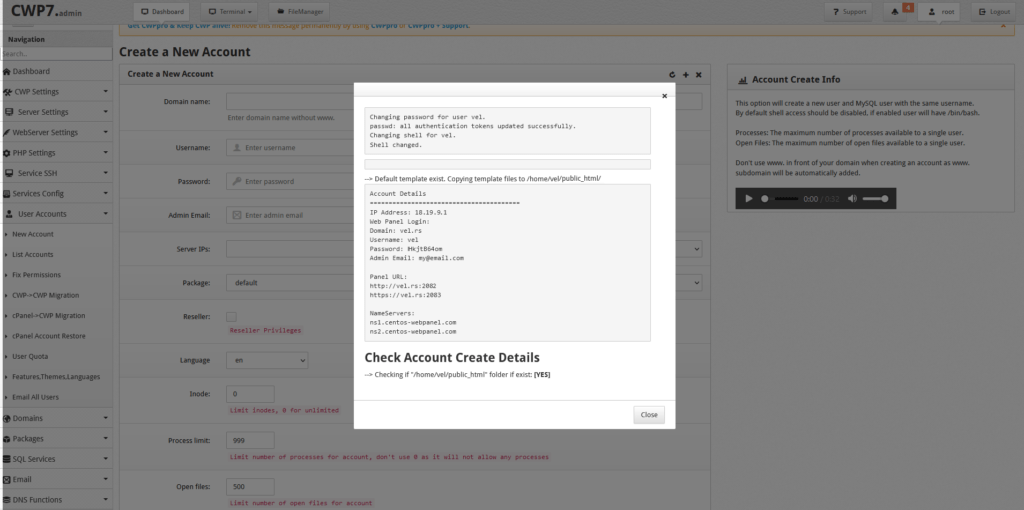
Navigate to User Accounts > Create a New Account and insert domain name, username/password.
Login to the user account, as the next steps are done from this user panel.
Create MySQL Database & User
First create a MySQL database and user by going top Databases > Mzsql Manager and click on “Add database” button.
Input d bname, user and password:
Save those details for later.
Install WordPress
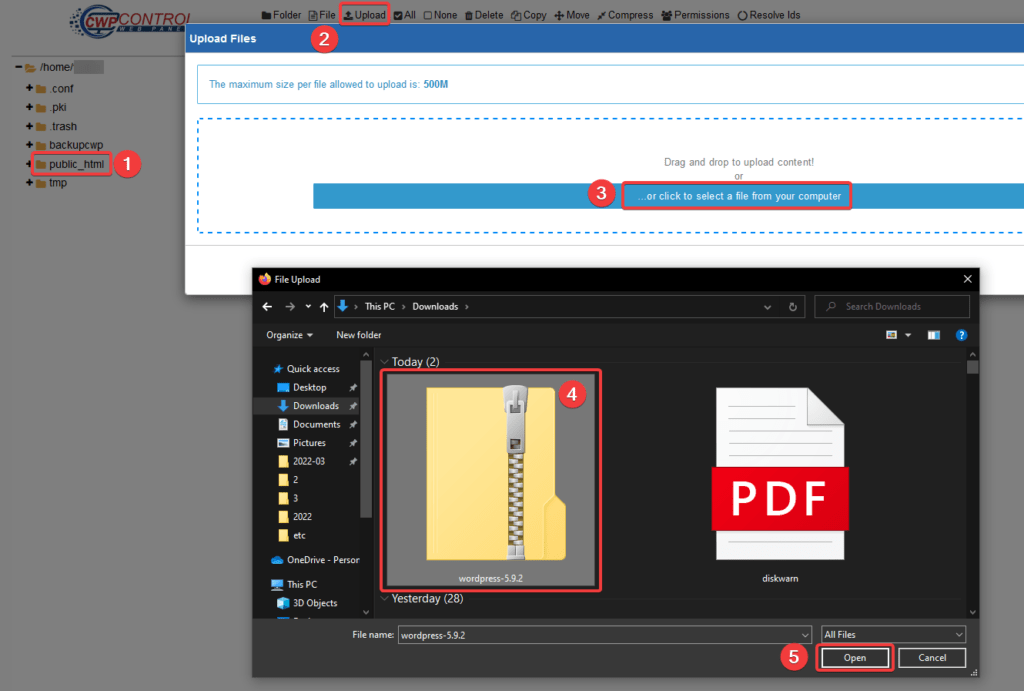
Download WordPress from https://wordpress.org/download/ then upload it to the server, by going to File Management > File Manager > public_html
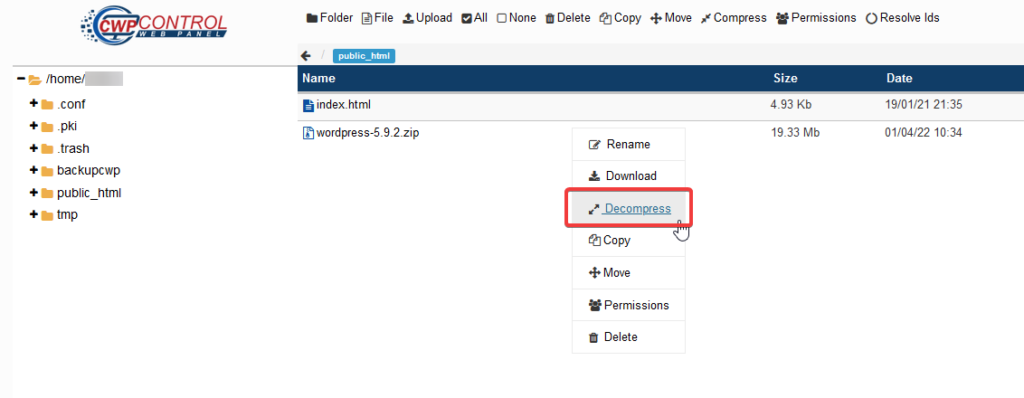
After the file is uploaded, right click on it and “Decompress”
Files will be extracted in WordPress folder, optionally you can move files out of the folder.
Afterward navigate to your domain and fill in the required information:

