Need to open a VMDK (Virtual Machine Disk) file in VirtualBox? In this article, I will be exporting a .vmdk file from VMware vSphere and then importing it into VirtualBox.
Export the VMDK file from VMware
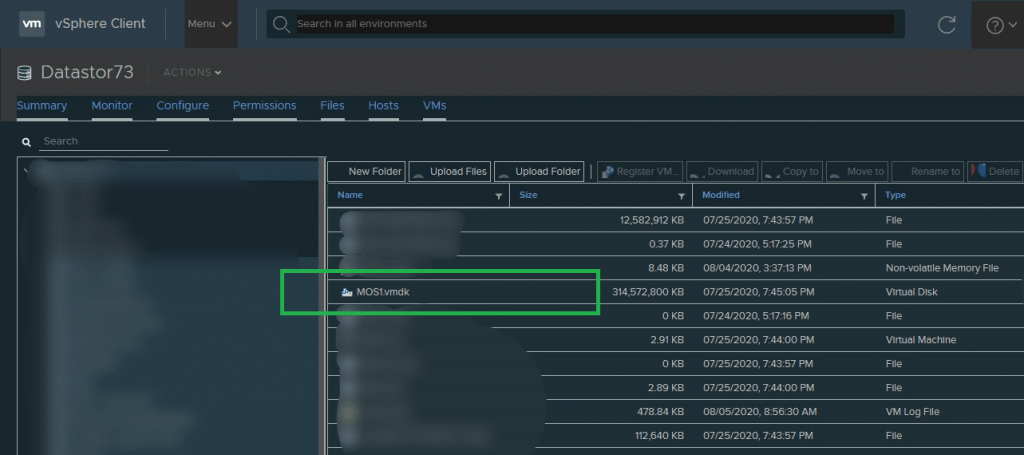
The first thing to do when migrating from VMware to VirtualBox is ofcourse to download the VMDK files from the VMware vSphere. Simply navigate to your datastore and download the .vmdk file for the machine that you would like to export.

Depending on the size of the VM’s hard drive, the download may take a while.
TIP: Turn off the VM first, in order to get rid of the lock files.
After downloading the VMDK file, the next step is to import it into VirtualBox.
Import VMDK in VirtualBox
- Open the VirtualBox application, then choose “New” to create a new virtual machine

- Give the new virtual machine a name and set the type, OS version, RAM, and then click to choose “Use an existing virtual hard disk file” and click the folder icon to navigate the file system

- Click “Add” to add a virtual hard disk file

- Navigate to and select the VMDK file and choose “Open”

- Confirm the VMDK drive is selected then select “Choose”

- Now choose “Create” to create the new virtual machine using the VMDK file

- Click “Start” at the VirtualBox Manager screen to boot the VMDK virtual machine

Once you click Start the virtual machine will boot using the VMDK file you selected as the virtual hard disk file.
Congratulations! If you’ve followed all the steps from this article, you’ve successfully imported a VMDK file from VMware to VirtualBox.


