Rescue mode can be used for a variety of things, including data recovery and OS restoration.
How to Enable VPS rescue mode in Virtualizor?
Step 1. Log in to your Virtualizor control Panel
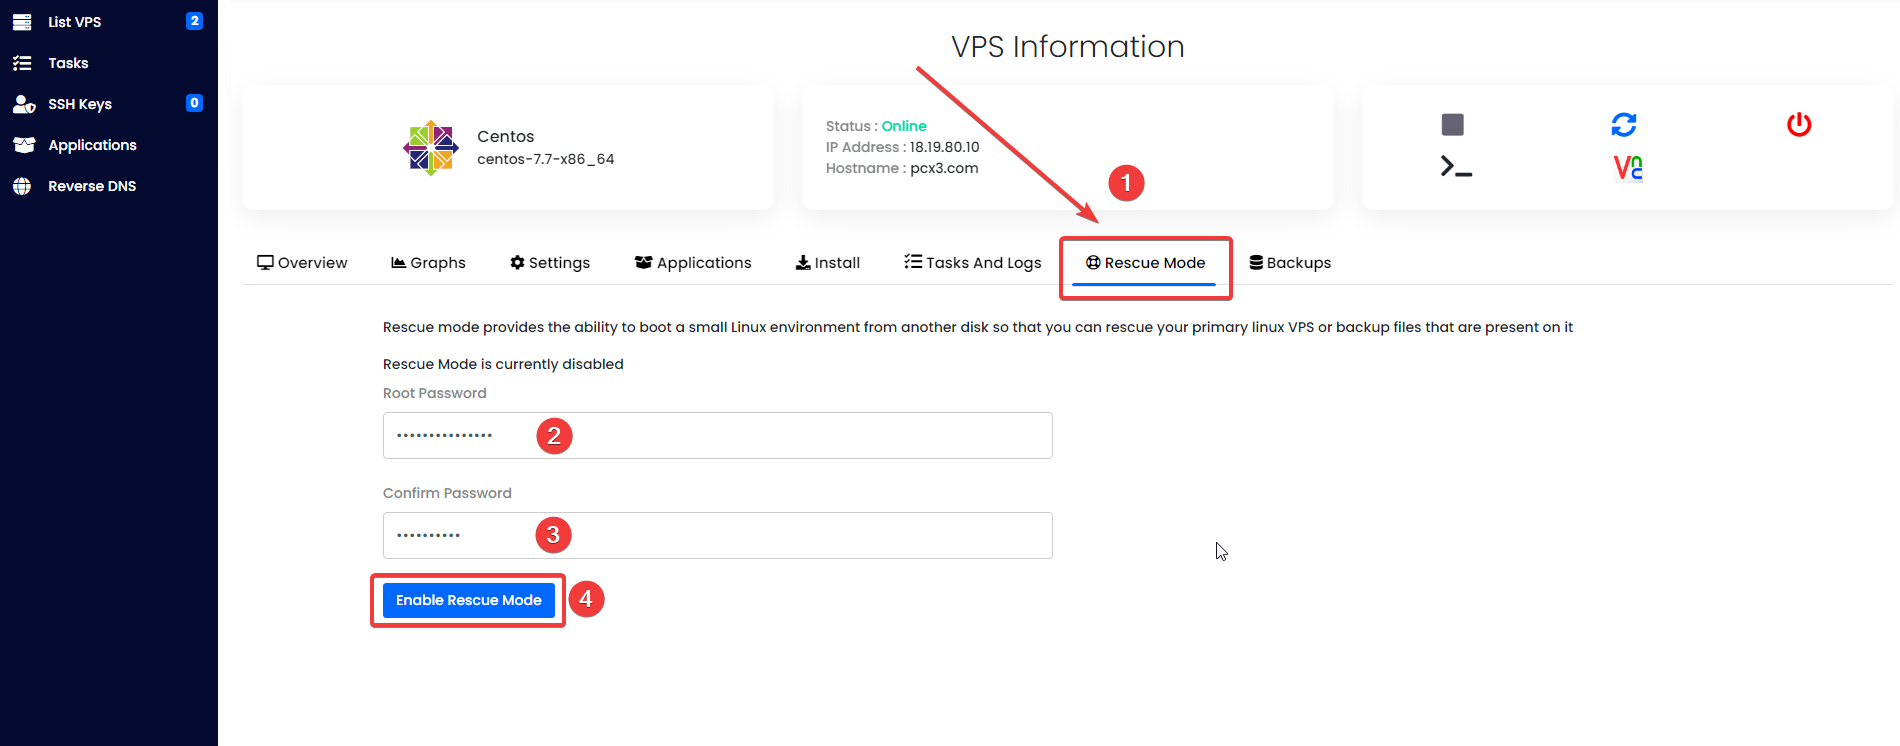
Step 2. Under List VPS select your VPS then click on the Manage icon

Step 3. Click on Rescue Mode, enter your password, and click Enable Rescue Modebutton

How to access VPS rescue mode in Virualizor?
In rescue mode, temporary OS is booted with VPS disks so you can can mount or repair the FS in those disks.
Another thing to note is that Virtualizor applies same network settings to the rescue disk as that set for VPS.
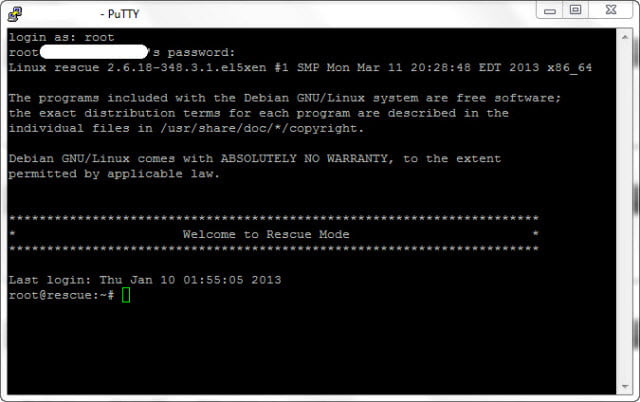
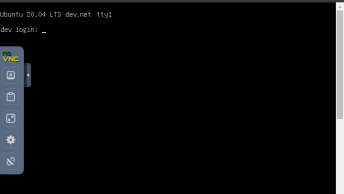
To login to the rescue mode through SSH use port 22.

Once you are logged into the rescue mode, you can perform basic system recovery tasks: reset the admin password, moount&repair disks, reinstall the kernel, etc.
How to access files in Virtualizor Rescue Mode?
To check the name of the main partition run: fdisk -l orlsblk
  Device Boot      Start         End      Blocks   Id  System
/dev/sda1            2048    20000767     9999360   83  Linux
/dev/sda2        20002814   478001151   228999169    5  Extended
/dev/sda3   *   478001152   622532607    72265728    7  HPFS/NTFS/exFAT
/dev/sda4       622532608   625141759     1304576   82  Linux swap / Solaris
/dev/sda5        20002816   478001151   228999168   83  Linux
In this example, SDA3 is the NTFS Windows partition, so to mount it run: mount -o ro /dev/sda3 /mnt
Then navigate to /mnt and backup any files that you need.
For more examples check: Red Hat Enterprise Linux System Administration Guide: 5.2. Booting into Rescue Mode
How to Disable VPS rescue mode in Virtualizor?
Step 1. Log in to your Virtualizor control Panel
Step 2. Under List VPS select your VPS then click on the Manage icon

Step 3. Click on Rescue Mode and click Disable Rescue Mode button


